7 Steps to Safely Install Electrical Fuses in Your Home
Whether you’re a seasoned DIYer or a new homeowner, it’s essential to know how to install electrical fuses in your home safely. Electrical fuses are critical to any electrical system, but improper fuse installation in Fort Myers can lead to dangerous situations such as electrocution or electrical fires. This blog post will go over seven steps to help you safely install electrical fuses in your home.
Turn off the power supply.
Before you begin any electrical work, always turn off the power supply to the area where you will be working. Make sure to turn off the breaker switch or pull out the fuse that controls the area you will be working in. This will ensure that no electrical current flows through the wires and that you will not be at risk of electrocution.
Choose the right fuse.
Choose the right size and type for the circuit you are working on when replacing a fuse. Check the owner’s manual of your electrical system or consult with a licensed electrician to ensure you’re using the correct fuse. If the fuse is too large, it can cause the circuit to overload and potentially cause a fire. If the fuse is too small, it can blow frequently and cause inconvenience.
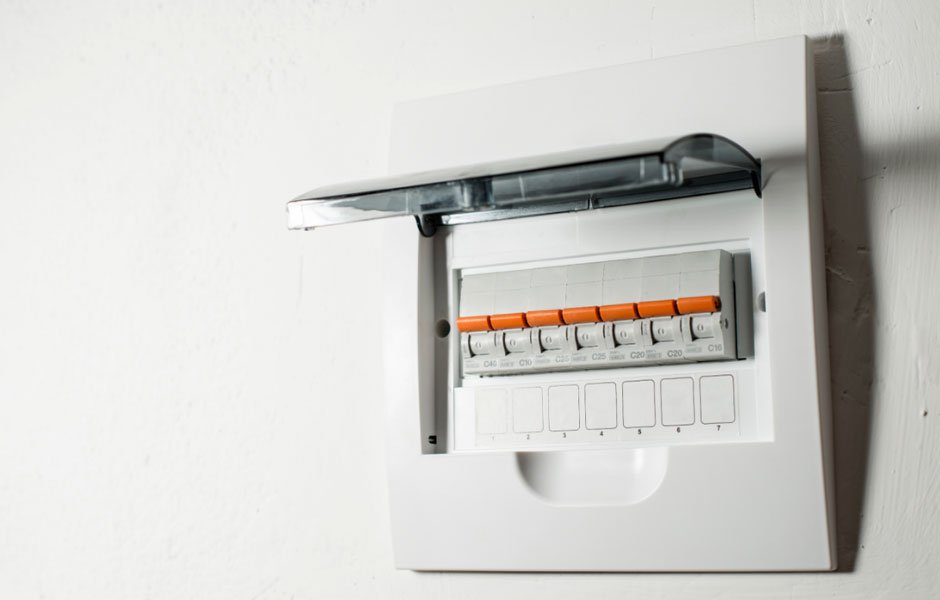
Prepare the fuse box.
Before you install the new fuse, you need to ensure that the fuse box is ready for the new installation. Remove any old fuses and debris from the fuse box. Use a multimeter or a voltage tester to check the circuit is de-energized.
Insert the fuse.
Once you’ve chosen the right size and type of fuse and prepared the fuse box, you can insert the new fuse. Gently press the fuse into the holder and ensure it is snugly installed. Do not force the fuse in, and do not use a fuse that is too small for the holder.
Tighten the fuse box.
After the new fuse has been inserted, you must ensure the holder is tightened. If required, secure the fuse holder to the box using screws or other fasteners. This will help protect the fuse from any vibrations or movement in the electrical system.
Turn on the power supply.
Once you’ve installed the new fuse and secured the holder, you can turn the power supply back on. Double-check that the circuit you are working on is up and running. Take time to check any electrical connections and ensure that all wires are properly connected.
Test the circuit.
Before you restore power to the circuit, it is important to conduct a final test. Use a multimeter or a voltage tester to check the voltage of the circuit. Ensure that the voltage reading is within safe limits. This will help guarantee that the installation was done properly and there are no issues with the circuit.
Follow these seven steps to safely install electrical fuses in your home: turn off the power supply, choose the right fuse, prepare the fuse box, insert the fuse, tighten the fuse box, turn on the power supply, and test the circuit. Always consult with a licensed electrician if you are unsure how to install an electrical fuse properly.