


How to Plan a Complete Facade Makeover Without Overcomplicating the Process
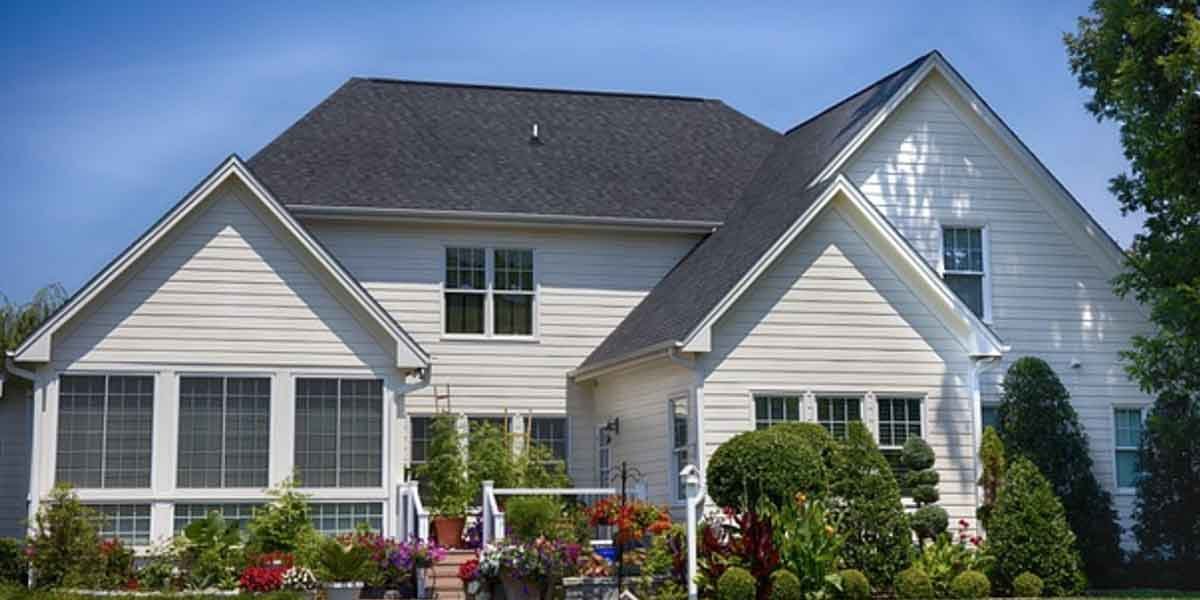
Renovating the building facade can prove to be a challenging process. After all, a facelift is a serious undertaking since it is a permanent alteration to the architecture that is rarely changed afterwards due to its high cost. Therefore, it is essential to know how to plan it properly so that future work becomes unnecessary.
Assess the brickwork condition before choosing any render or cladding
Prior to looking at brochures and swatches, assess the current condition of the brickwork. This step, which is often forgotten by homeowners, can save thousands of dollars in unnecessary repairs later.
Check the integrity of the mortar by running your hand over every joint looking for any gaps or crumbling. Look for spalled bricks, which usually occur as a result of moisture penetration and pressure inside the brick. Check the bottom courses for rising damp – white salty streaks, which appear on the bottom layer of bricks. Another common brick defect is diagonal cracks on openings and corners, which are formed due to foundation settlement rather than weather conditions.
Why all these brick defects matter is that any form of surface treatment – render or cladding – will hide the problem areas sealing them with a layer of mortar or paint thereby preventing moisture from escaping. As a result, isolated damp spots turn into rot and dampness, minor cracks propagate into large fractures and render cracks and paint peels off revealing the unsightly brickwork.
Get a builder’s or building surveyor’s confirmation that the substrates are fit for any surface finishing before investing in brick repairing since this step is mandatory for any facelift. If the brickwork condition is unacceptable, deal with all the details before moving on to the next step in facade renovation.
Acrylic render versus cladding: what looks better and performs longer?
Once the brick block is ready, the next decision in renovating the building facade is about going with render or cladding:
Acrylic render is a popular choice, which conceals the imperfections of brickwork by smoothing it out or creating a textured finish to achieve the desired effect. The render forms a uniform surface of a particular color, which can either complement the brick or mask its defects entirely. Acrylic render is definitely beautiful, as it creates a contemporary finish, however, it has to be applied when it is dry and stays dry for at least five days to cure. With such a render, a homeowner has to consider a week of perfect weather conditions before even thinking about paint. Besides, acrylic render is known to craze under the effect of temperature changes, which are inevitable in any Australian climate. Thermal expansion and contraction of the render cause cracking, which renders the house unsightly and eventually leads to moisture penetration and paint peeling. The regular maintenance of the rendered surface is repainting every five years with crack filler and paint on top regardless of the initial costs making acrylic render a recurring expense.
As for lightweight cladding such as vinyl, composite and uPVC profiles, it utilizes a different principle of attaching panels made of various materials directly to the brick with special battens holding them at a particular distance to allow for moisture evaporation. Since the cladding panels are not adhered to the substrate but rather mechanically fixed to the battens, they are free to expand and contract without causing damage to the surface treatment. Besides, the cavity formed by batten-cladding systems allows for the installation of a sarking membrane within the insulation layer acting as a barrier to moisture.
For those, who wish to achieve the authentic timber appearance without the hassle of maintaining real wood panelling, consider using the uPVC cladding systems by Formplex . Such a choice will ensure a permanent colour, easy cleaning and eliminate the risk of rot and timber beetle infestation.
The installation of cladding profiles takes much less time than rendering does as it is a dry system, which does not require curing period nor does it depend on weather conditions. Additionally, the waste from profile cladding is minimal in comparison to render.
Seize the opportunity to upgrade insulation in an energy-efficient manner
Renovating the building facade with cladding or render is a great opportunity to install additional insulation boosting the energy performance of the house.
When working with profile cladding, there is an opportunity to install cavity insulation in the space formed between the cladding panels and the brickwork. Up to 35% of a home’s heat loss or gain depends on the walls and most of the Australian homes do not benefit from cavity insulation since there was no space for it when a house was built using bricks. The insulation installed on the external walls prevents heat loss in winter and excessive heating in summer.
Moreover, installing cavity insulation can be beneficial in terms of construction waste as opposed to internal insulation. There is no waste on the interior side since everything is done externally, which is an advantage when dealing with the recently renovated home. The frame work on the existing brick wall to which the cladding panels are fixed creates additional space, which serves as an insulation channel.
Consult your local building authority to ensure that there are no planning or aesthetic requirements
Most local governmental authorities have house development standards, which affect the materials used on the building footings including facade renovation works carried out on residential buildings. If your house is located on the heritage-listed street or an area with particular environmental or heritage significance, the visual appeal of the building is of particular importance. Therefore, a developer has to submit a development application or a heritage impact assessment in accordance with the applicable planning overlays to the heritage authorities for their approval.
The process per se is not difficult and takes no more than several hours on the phone or in the planning departments. Call and speak with someone about the intended renovation works and ask two questions: ‘Do I need a permit?’ and ‘Are there any local planning overlays that apply?’. Then, call the supplier and ask for the contact details of a person responsible rather than the person who takes your order. Say the same to the building contractor. Within that process, you will learn enough to understand if any local planning rules apply to your project. Do not ask material suppliers if their product is compliant with the local planning rules. Ask the planner rather than the supplier.
Design the colours in a smart way
Current residential architecture favours minimalism in terms of using a reduced colour range, avoiding high-contrast combinations and sticking to simple shapes and forms. Minimalism does not mean boring neutral tones, however. It means working with three key elements rather than trying to include every available material into a single design statement:
- One large prevailing material, which dominates most areas of the building’s exterior such as cladding panels. Light-coloured profiles are the safest choice as they complement almost any architecture. Light grey, warm beige and white are all safe options, which should be selected in accordance with the local environment and building codes.
2. The next element is a secondary texture in a particular zone accentuating the key material. It can be columns, a small section on the lower part of the building or the garage finished with timber-look paneling, stone cladding or a different type of plastic profiles.
3. Finally, one should choose a trim element accentuating the roofline, window openings and other architectural details with a dark trim. Dark metallic colours such as charcoal and bronze are now in fashion as they add weight to the overall design without overwhelming one with their presence. They bring in the colour and shape of the roof eaves complementing the overall architecture of the house.
Avoid using more than two categories of building materials on a single building as a guide to designing a cohesive architectural statement.
Update the roofline and gutters at the same time
This step is often forgotten and becomes apparent as soon as the new cladding panels are mounted or the render is cured.
The bright finish draws the eye upwards to the fascias, soffits and gutters, which often need renovation as well. The same goes for downpipes attached to the building facade, which rarely blend into the overall architecture. If the fascias, soffits and eaves are a dull grey or a dirty white, they simply fail to complement the new render or cladding. Gutters and downpipes, which are old, rusty or in a 1990s off-white, also do not belong with contemporary building facades. Replacing the old guttering and fascia boards with modern pre finished fascia in a colour complementing the accent elements and updating the downpipes to match the window trim brings the roofline into the frame blending it with the overall image of the house. Fascia and soffit boards are not expensive and their installation takes no time if a tradesperson updates them along with the rest. However, the failure to address them is one of the most common reasons for a facelift project looking incomplete.
Flashings and reveals should be addressed in a manner to allow moisture to escape
When a cladding system is fixed to the brickwork with battens creating a cavity, this additional depth has to be accommodated by every element of the building’s architecture including windows and doors.
Where previously the architraves and sills were level with the brick block, they are now inset creating a gap in which moisture can collect if the flashing is not extended. The same problem occurs if the flashing is not sealed properly allowing water to penetrate through the cavity on the other side.
The most effective way to prevent moisture ingress is to update the flashings and reveals, extending the flashings while also updating the reveals to have a step allowing water to escape beyond them. This is a detailed and specialized work, which should not be attempted by any handyman. Make sure to address this detail in time before any cladding is fixed to create the necessary adjustments.
Stick to a particular sequence when renovating the building facade
While many homeowners find such a project overwhelming due to numerous details to address, the task is not impossible. There is a certain logic to renovating the building facade, which follows a particular sequence.
First of all, assess the current condition of the brickwork and building structure as a whole and consult the relevant authorities to receive all required permits. Then, consider the materials to be used and the alterations to be made to update the property in accordance with the latest building regulations and codes. The next step is to install the relevant membrane and insulation. All required sub-frame adjustments should follow to ensure that the new cladding fits perfectly. Once all these details are addressed, it is possible to move on to actual cladding installation. Facia boards, soffits and fascia can be updated as well as the roofline elements at this stage. Finally, window trim elements and flashings should be adjusted to match the new cladding to finish the job.
A well-planned facelift project for a single-storey house with minimal interference will take no more than two weeks using a dry cladding system with little dependence on the weather and minimal mess.