What to Expect During an Underground Water Tank Installation

What to Expect During an Underground Water Tank Installation
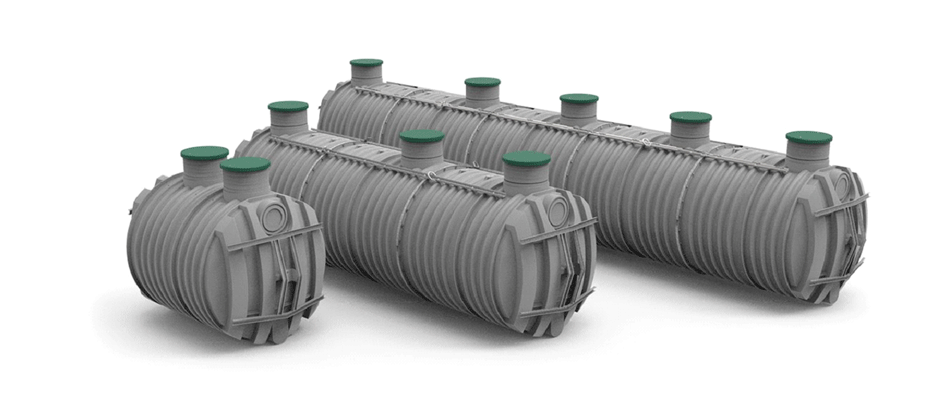
Underground water tanks provide the most benefits if you want reliable water storage. Besides being well hidden from sight, they can hold more water than their above-ground counterparts.
Read on to understand what to expect during an underground water tank installation. Discover also the detailed step-by-step guide to installing underground water tanks.
Benefits of owning an underground water tank
Australia is generally hot during the summers, and one of the natural ways to cool your water is through underground water tank installation. Moreover, our winters are cold enough to almost freeze water, especially in above-ground water tanks. Having an underground water tank means you effortlessly get water at the right temperature all year.
In addition, underground water tanks are perfect for rainwater collection. Instead of letting it run off, you can store the water for your toilets or irrigation. After all, water collection is one way to conserve the environment. You will also save water costs by using what is in the tank for all the other outdoor needs.
Furthermore, unlike above-ground tanks that are easy to vandalise, underground water tanks are safe below ground. In severe weather conditions, underground water tanks are also not at risk of destruction. Lastly, they will remain out of sight, enhancing your home’s and yard’s aesthetics. This makes them suited for small backyards.
Here is a step-by-step guide to underground water tank installation. Using the services of a professional water tank company will also ensure the installation is correct.
Step by Step guide to installing Underground Water Tanks
Before beginning the underground water tank installation, ensure you have the correct tools, equipment, and materials. Having an expert supervise or complete the process ensures your tank lasts longer underground.
What you need:
- An excavator
- Concrete underground water tank
- Pipes and fittings
- Ball valves
- Water pump
Step 1: Identify the installation site
Before digging commences, you must identify where the underground tank will go. The ground may be soft or rocky, depending on where you are in Australia. The ideal soil around the tank should be compact enough to firmly hold the tank in place.
Step 2: Excavate the site
To properly excavate the site, ensure the excavator can manoeuvre the space, especially in nearby buildings. Measure the size of the underground water tank or tanks, adding a few inches on every side for a good fit. The depth of the hole should allow for a top cover if necessary. The tank is made of concrete and steel and may not need additional reinforcements.
Step 3: Build the Base
Spread the soil at the bottom of the hole to flatten and level it. You do not have to build a concrete base if the soil is rocky and firm enough to hold the tank’s weight.
Step 4: Lay the Piping
The basic piping for the water inlet and outlet is usually complete during the tank build. At this stage, you can lay pipes that connect to the main water system. Ensure the pipes are well-connected and covered to prevent contamination.
Step 5: Install the water tank
Place the tank on the hole, adjusting it to ensure it sits levelly. If using a crane, ensure they lower the tank slowly to avoid damage and that it fits perfectly.
Step 6: Add the pumping system
A skid water pump ensures the water has pressure as it flows to your main system.. Connect it to the piping, including all electrical components.
Step 7: Install the ball valves
Like overhead water tanks, underground water tanks can overflow, and fitting a ball valve prevents it. Besides avoiding water damage to your property, you want to prevent wastage, especially if you need to store water for the dry season.
Conclusion
An underground water tank installation requires professionals, especially if the build is on-site. They will carefully use the necessary materials and reinforcements to ensure the tanks last long, if not a lifetime.


